
Otto
Welcome to the Otto project! 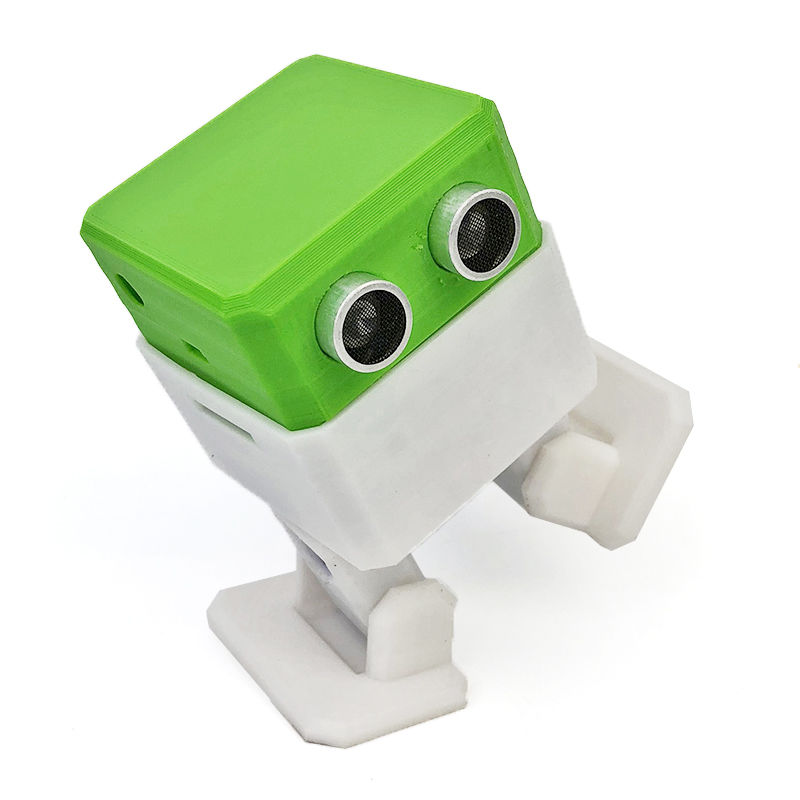
Otto is ‘an open source modular robot with an epic personality,
a robot companion for learning STEM & Creativity‘ ~ https://www.ottodiy.com/
To build Otto you need to complete the following steps:
- 3D print the components that make up the robot body
- Obtain the required electronics components
- Assemble Otto
- Code Otto to bring it to life
Step #1 – 3D Printing Otto’s Body
- Download the following compress ‘zip’ file containing all of the body parts… OttoDIY_Parts.zip
- Open the compressed file you just downloaded, then copy and paste all of the ‘.stl’ files into a your project folder location in your project folder location (create one if you haven’t already).
- Open the 3D slicing software Tinkerine Suite, then ‘import’ an ‘.stl’ model file into the build theatre
- If you are unfamiliar with the Tinkerine software, follow Otto Project 3D Printing Guide to setup for your print.
- Complete the steps necessary to print the body parts.
Step #2 – Gather the required Electronic Components
You will need the following to make your Basic Otto robot:
- SG90 Servo Motors complete with hardware – 4 required
- Arduino Nano Breakout Board – 1 required
- Arduino Nano Microcontroller – 1 required
- HC-SR04 Ultrasonic Sensor – 1 required
Step #3 – Assembling Otto
Open the following guide to assemble your robot…OttoDIY_InstructionsManual_V08
Step #4 – Coding Using the Otto Blockly IDE
- Locate the ‘Otto Blockly’ App on your computer and Launch it.
- Open the ‘Otto Blockly Guide‘ and work through it.
Step #4b – (Optional!) Hard Core Coding Using Arduino IDE
Time to bring Otto to life! This will require two steps:
- installation of some libraries that will help to make coding Otto easier
- Downloading some starter code to upload to your robot
1. Obtaining and installing libraries
- download the following ‘zipped’ (compressed) folder…Otto Zipped Libaries
- open the compressed ‘zip’ folder and you should see three folders inside that are also ‘zipped’.
- You will need to copy and paste each of these folders to your project folder (make one if you don’t already have one, OneDrive a good location to do this in).
- Open the Arduino IDE
- Under the ‘Sketch’ tab hover over ‘Include libary’ and then select ‘Add .zip library’
- Find one of the libraries that you saved to your project folder and then select ‘open’
- Repeat this for the other two libraries
2. Obtaining a ‘starter code’
- download this ‘zipped’ file…Otto_Basic_Starter_Program
- open the zipped file and you should see a folder inside
- copy the folder and paste it to your project folder location
- In the Arduino IDE under ‘File’ select ‘open’, then navigate to your project folder and open the folder that you previously pasted. Inside you will find a ‘.ino’ file. Select this file then open it.
- Examine the code and try to make sense of it. Comment out portions of the code that do not apply to the most basic movement (we walk before we run!).
- Try uploading the sketch to see what it does.
- Adjust, play around, as necessary to make your robot do various movements.