
Jewelry 10
** Note – This page is in a constant state of construction as the course progresses **
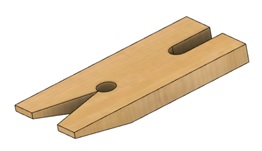
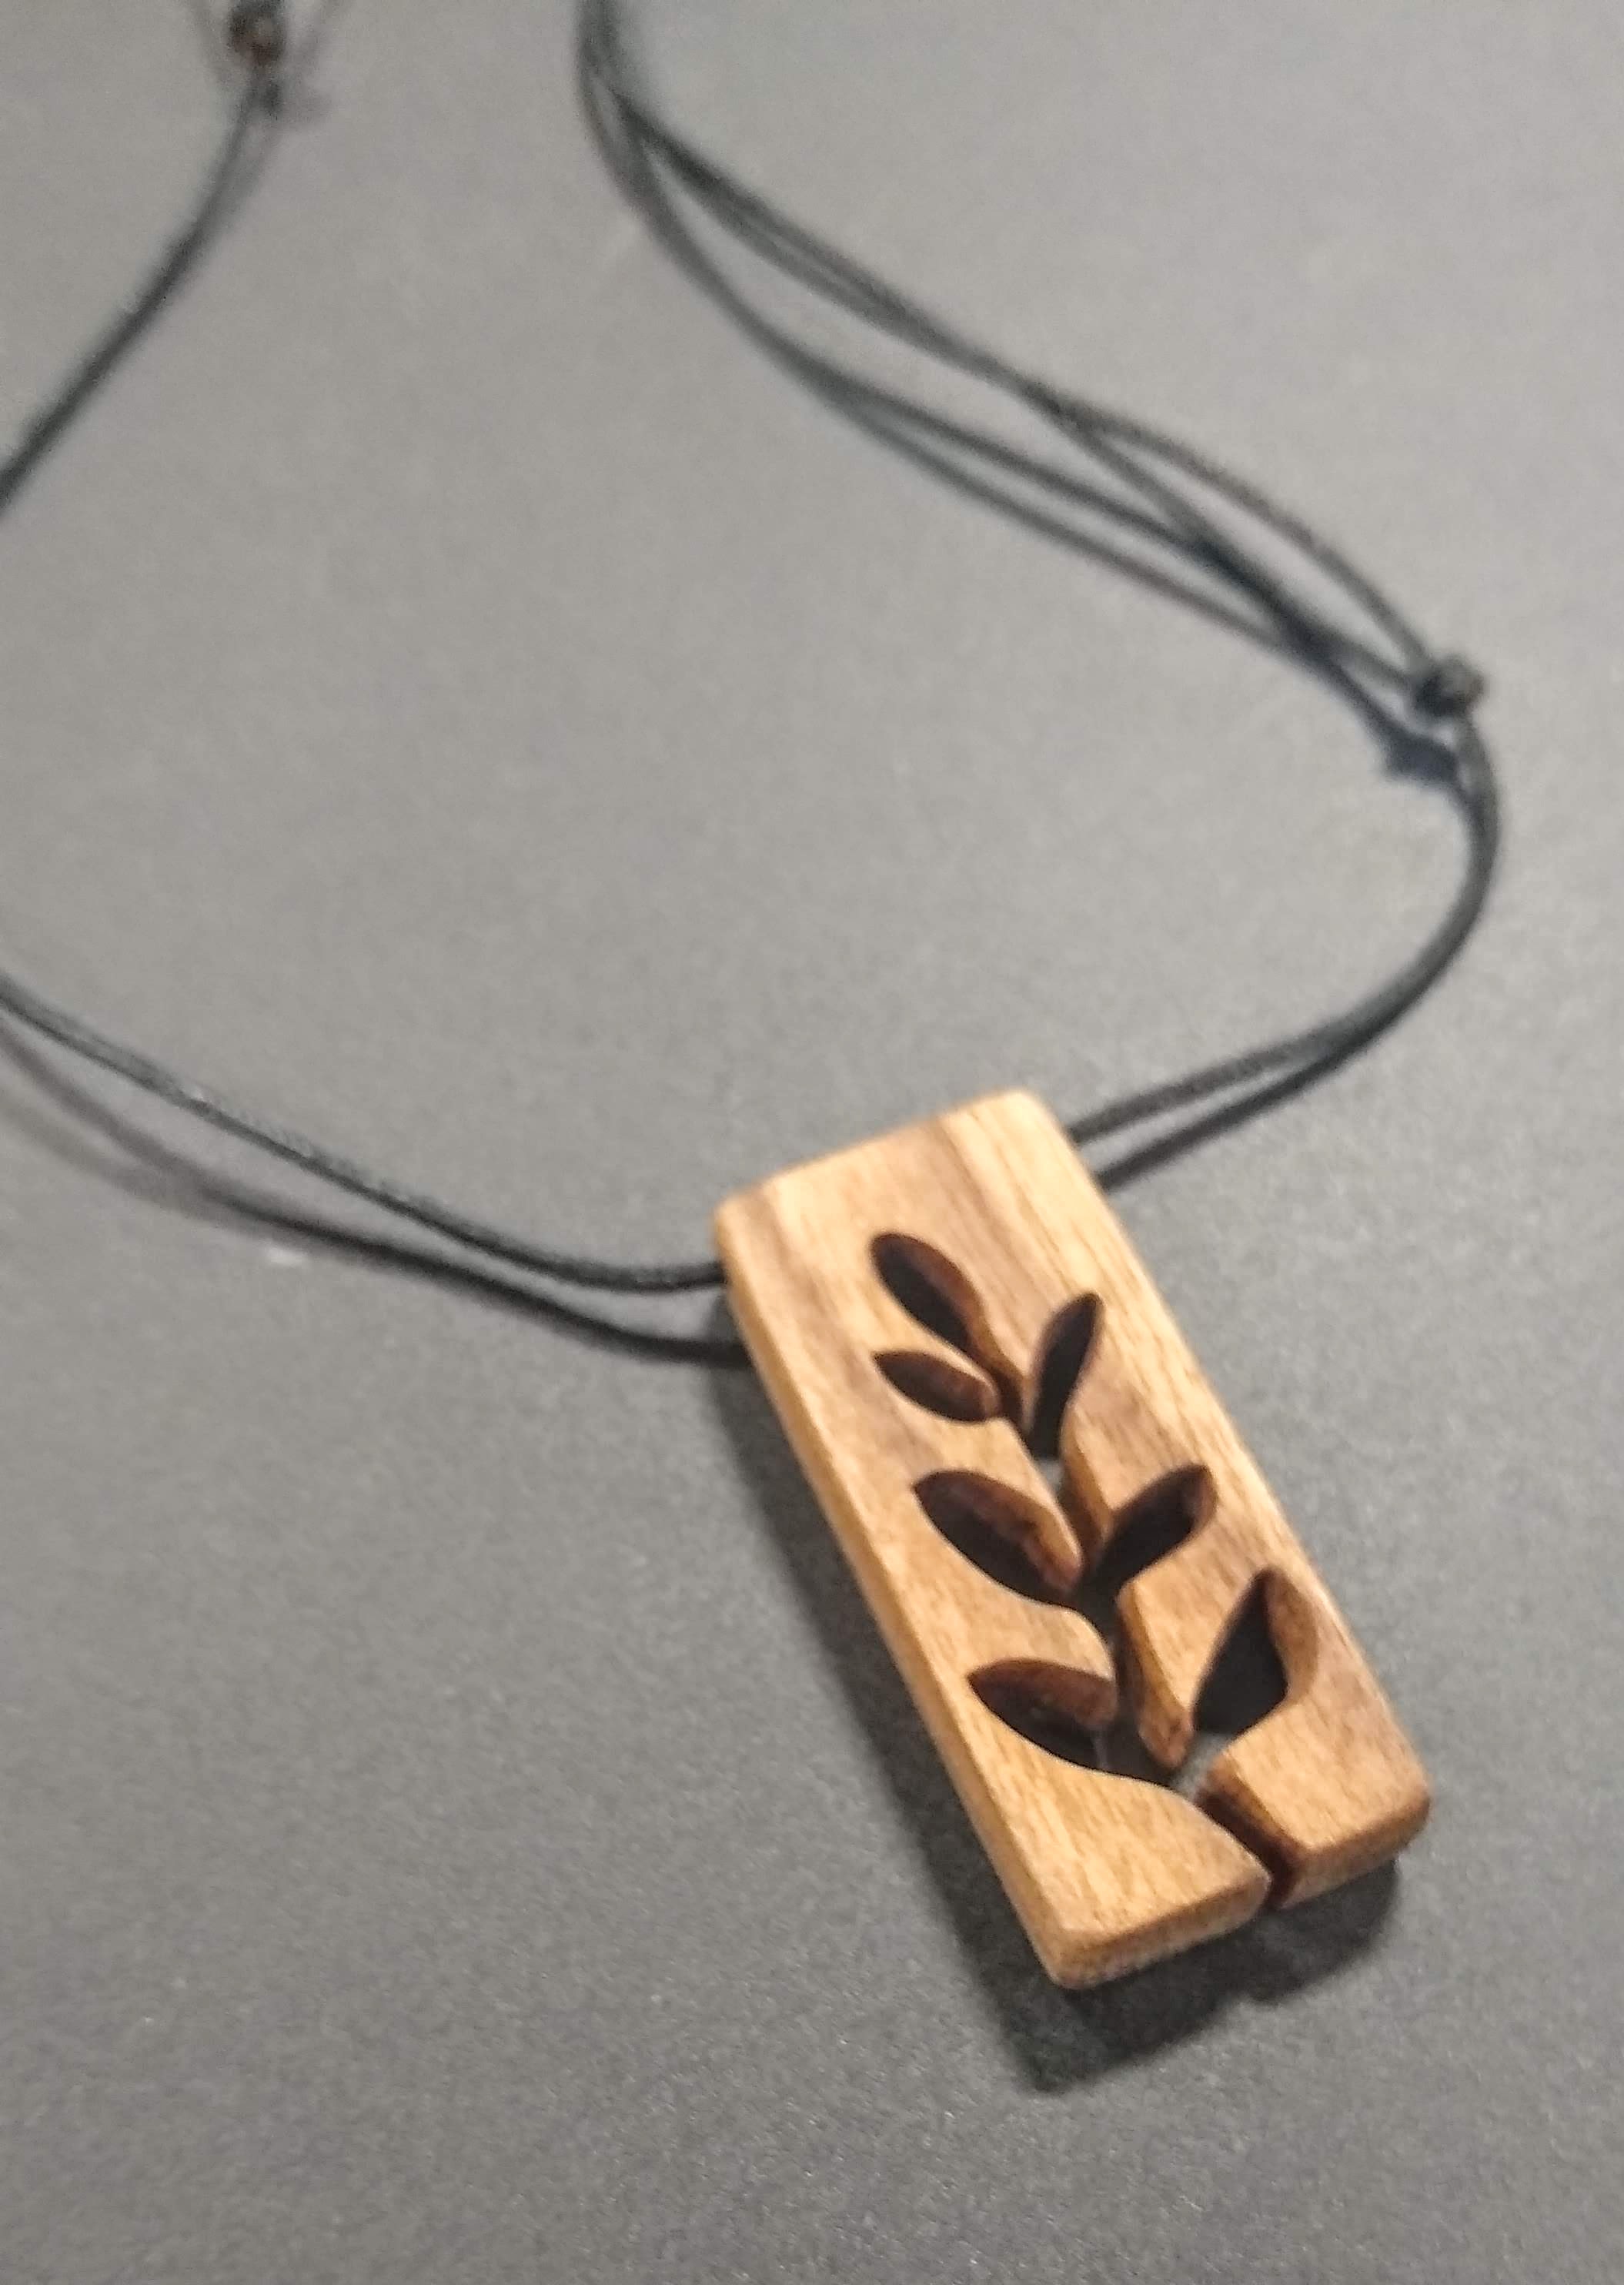
Jewelry Sawn Pendant Project – Wood 
Resources coming soon…
- Inkscape – setting up your project
- Inkscape – working with images
- Printing your design (Inkscape to Adobe Reader to Rm#507)
- Procedure – Jewelry Sawn Pendant
.
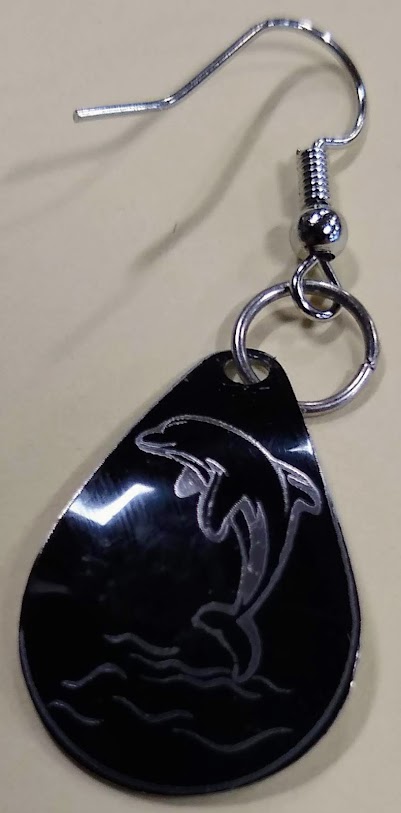
Laser Engraved Earing Project
Inkscape Design Tutorials
- Tutorial 1 – Establishing Design Constraints
- Tutorial 2 – Shape Creation
- Tutorial 3 – Basic Image Creation (Inkscape Drawing Tools)
- Tutorial 4 – Images Using Clipart
- Tutorial 5 – Final Preparations For Engraving
- Tutorial 6 – Laser Software (UCP)
.
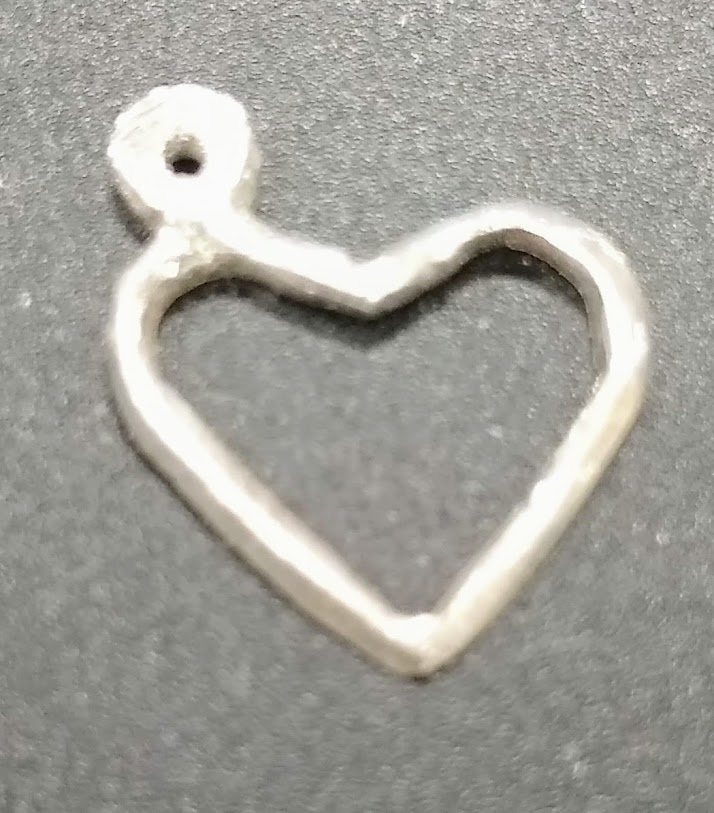
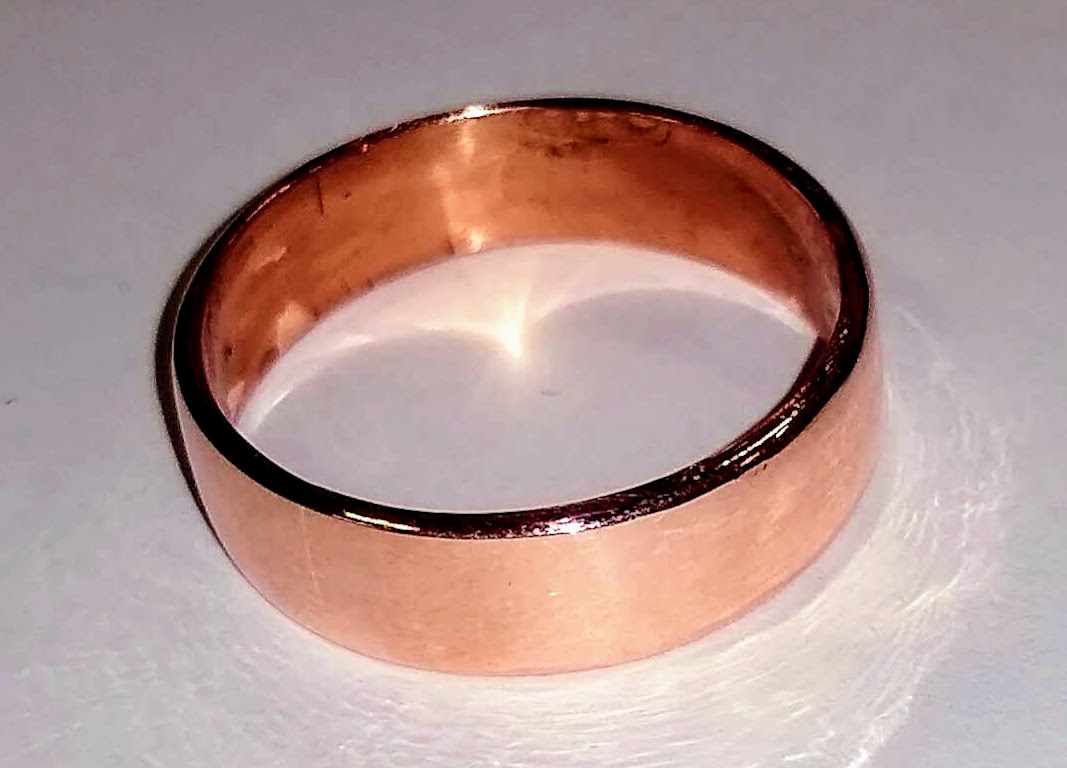
Formed Wire Ring Project 
** Wear Eye Protection When Working With Wire! **
Forming wire is a popular way of creating or accessorizing jewelry. In this project you will create a ring using little more than wire, a ring mandrel, cutting pliers and jewelry pliers.
Watching YouTube tutorials can both inspire and teach methods for forming various wire rings.
Task #1
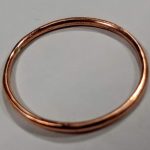
Follow this tutorial to create an ‘infinity’ ring.
You will need to obtain the following tools to complete the task:
- ring mandrel – used to wrap wire around to achieve a desired ring size
- suitable wire – the tutorial is using 16 gauge wire, other wire diameters are possible
- jewelry pliers – appropriate style/shape for the task (make sure the surfaces of the jaws are smooth!)
- square cutting pliers – to squarely cut wire ends
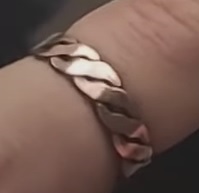
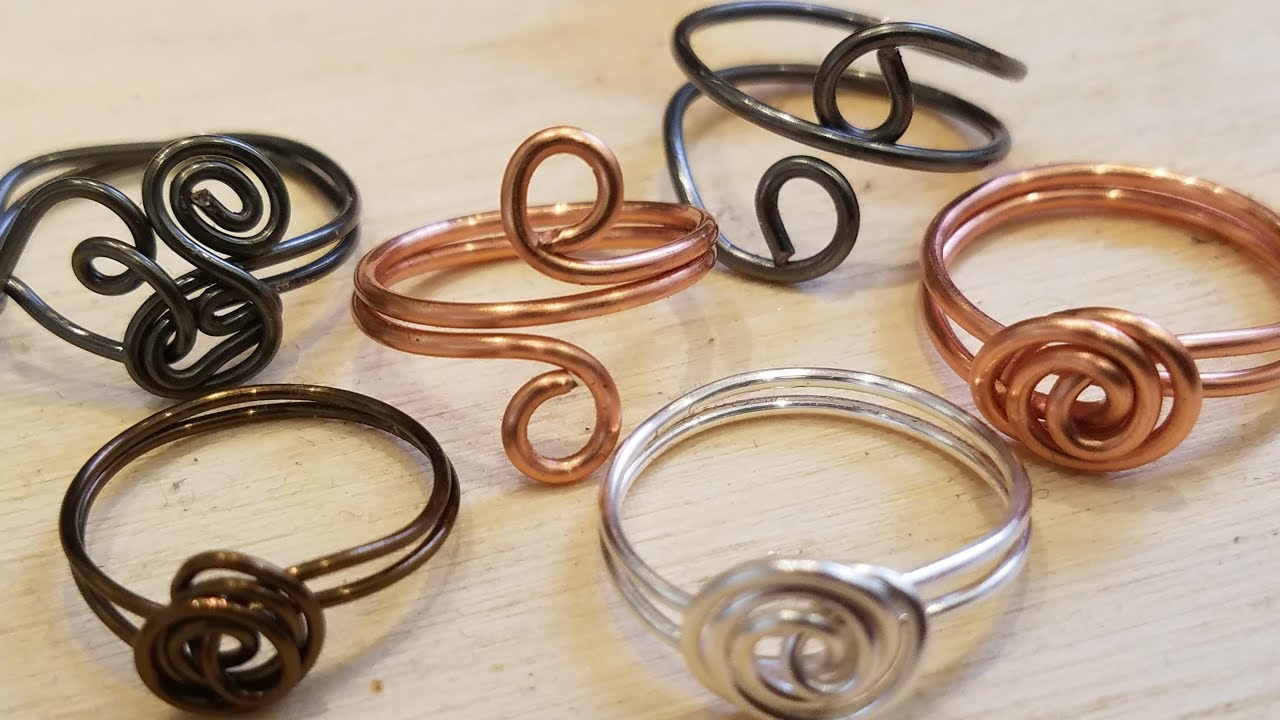
Task #2 – make a second ring of a different design
Some ideas (search the internet for more!)…
Grading…
The major grading consideration for this project is your attention to detail
- avoid scratches by using good tools and techniques
- neatness
- are there any catches, or snags?
Jewelry Box Project

(click image to enlarge)
Box Lid
Downloading the template…
- Click on the link below to download the compressed folder containing the box lid.
- Find the downloaded folder in your ‘downloads’ and click it to open it.
- ‘right click’ on the file within the folder and choose copy
- Use ‘file explorer’ to navigate to your project location (Onedrive) and right click, then paste the file
- Open Inkscape version 0.9x, then under the file tab choose open, navigate to the location in step 4 and select the file that you pasted.
- Follow the instructions in the Inkscape document to design the lid for your box.
Creating A Design (Inkscape)…
- Selecting A Suitable Image
- Optimizing Images For Lasering
- Preparing For Laser Cutting (Inkscape to UCP & (Laser Settings)
Cutting Parts Using The Laser…
- Obtain material and cut your parts using the laser, remember to:
- Focus the laser to the surface of the material
- Position the image on the material
- Make the appropriate adjustment to the laser ‘Settings’ (Laser Settings)
- Turn open the shop air supply and turn on the fume extraction
Box Bottom
- follow the procedure outlined above to create the bottom for the box
Box Inserts
- follow the procedure outlined above to create inserts for the box
What To Do After You’ve Cut Your Parts
- follow this detailed procedure to assemble and finish your jewelry box.