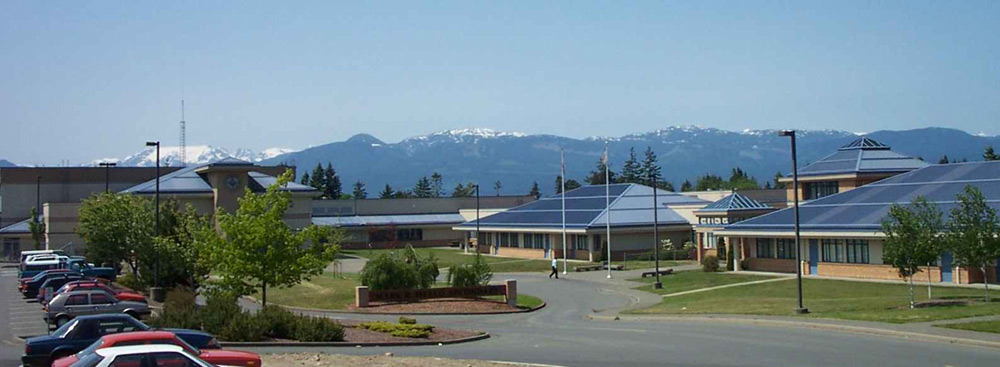
Engineering 11/12
Engineering 11/12 is a 4 credit project based theory supported course. Throughout the course students will develop an appreciation for what it means to be an ‘engineer’, how to become one, and the many career options open to those wanting to become engineers. With a focus on ‘Making‘, student will undertake several activities that will challenge them to develop practical and elegant solutions using tools, materials, science and mathematics. Computer Assisted Design, will be used for design and design study purposes.
Please note, your teacher reserves the right to revisit the category weightings as the course progresses. Students will be notified if/when any changes and rational for any changes will be conveyed.
Term 1 (50% of overall grade)
- Safety – 10%
- Design – 30%
- Assignments 10%
- Activites/Projects 50%
Term 2 (50% of overall grade)
- Design 30%
- Assignments 10%
- Activities/Projects 60%
Safety
Yours and others safety is of the highest priority in the shop. Safe work practices, handling of materials, techniques and expected behaviour will be clearly conveyed and it is expected that you will demonstrate your understanding this by adhering to safe work habits at all times.
The following safety protocol applies to ALL use of power tools:
- Students receive a demonstration on proper tool use and safety considerations.
- Students must pass a safety test achieving a minimum standard. Corrections, if needed, must be made and the teacher satisfied that understanding has been achieved. Testing that results in a grade below the minimum standard may result in the student needing a second demonstration before they can use the equipment.
- The teacher will observe the student the first time they use a given tool.
- Students will ask for the teacher for permission immediately prior to using any power tool.
For safety information pertaining to specific tools/equipment please follow this link.
-
Setting Up an Account and Obtaining An Education License
You will need to setup an Autodesk account and apply for a Fusion 360 free education license. All Autodesk software is free to students if they verify their educational status. Follow the directions in class to…
- Set up an Autodesk account:
- use your school district email address: ‘student#learn71.ca
- be sure to not use your exact birthdate (use your month and year, but another day)
- Verify your email when prompted going to your email and clicking the verification button in the mail sent to you by Autodesk.
- Again, follow the link above to the ‘Get Started’ button. Hopefully, this button is now white. If so, click it to complete the process.
- You will be asked for a document to prove that you are a student. Ask you teacher for the location of this.
- Set up an Autodesk account:
Intro Unit
As you move through the introductory unit, you will be developing skills and knowledge that you will rely upon for successful completion of challenges/activities that follow. You will develop design and manufacturing skills and safe working knowledge of machines and techniques used for manufacturing.
Da Vinci’s Self Supporting Bridge
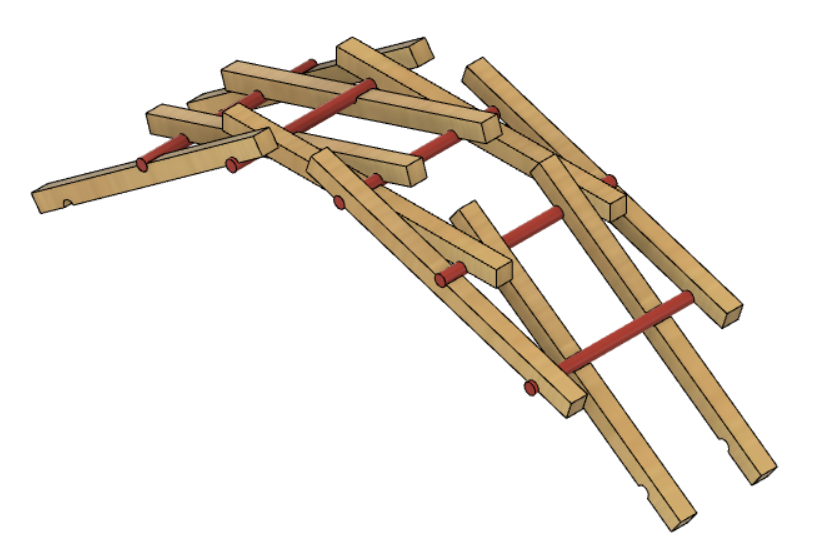
For your first activity you will be building Leonardo’s bridge. You will model this in CAD and from your model you will generate engineering drawings from which you will manufacture your bridge. The building of the bridge will see you using the majority of stationary power tools in the shop. All safety test on these tools must have been successfully completed prior to use.
Modelling The Bridge
Follow the tutorials below to complete your bridge model.
- Bridge Tutorial 1 – Fusion 360 Basics (show your teacher when you have completed this)
- Bridge Tutorial 2 – Modelling a notched stick
- Bridge Tutorial 3 – Modelling a dowel rod
- Bridge Tutorial 4 – Populating sticks and rods
- Bridge Tutorial 5 – Joints part 1
- Bridge Tutorial 6 – Joints part 2
- Bridge Tutorial 7 – Appearance
Making The Bridge
- You will need to have passed safety tests on all required woodworking machinery in the shop prior to undertaking the making of your bridge.
- You will be making six ‘notched sticks’ and two dowels.
- In the end you will be combining your parts with the parts of one other student and, if each were made relatively accurately, they should have little problem fitting well together (interchangeability of parts) to form a bridge.
Manufacturing Procedure – Da Vinci Bridge
Intro Unit Continued…
CNC Machining (Gears)
We have three types of CNC machines that we regularly use in the shop:
- Laser Cutter/Engraver
- 3D printer
- CNC Router
You will need to learn the use of each of these as doing so will be of great benefit to you in the challenges/activities that will follow. You will first be asked to design, using Fusion 360, a gear set. You will then make the gear set using each of the CNC machines available.
Challenges/Competitions
Additionally, the course may include the following challenges/competitions. This list is not exhaustive, or etched in stone. Activities undertake will depend on time, resources and the demonstrated abilities of the group.
- Mouse Trap Vehicle Competition
- Trebuchet
- Syringe Robot Challenge
- Truss/Bridge Contest
- Egg Gondola